TREX DECK REPLACEMENT IN ELK GROVE, CA
Comprehensive Trex composite deck upgrade with Honey Grove decking, improved outdoor functionality, and a low-maintenance finish engineered for endurance and sustainable wear.
Elk Grove, CA

Complete exterior update featuring T1-11 siding replacement, structural repairs, and a fresh coat of exterior paint in Citrus Heights, CA.
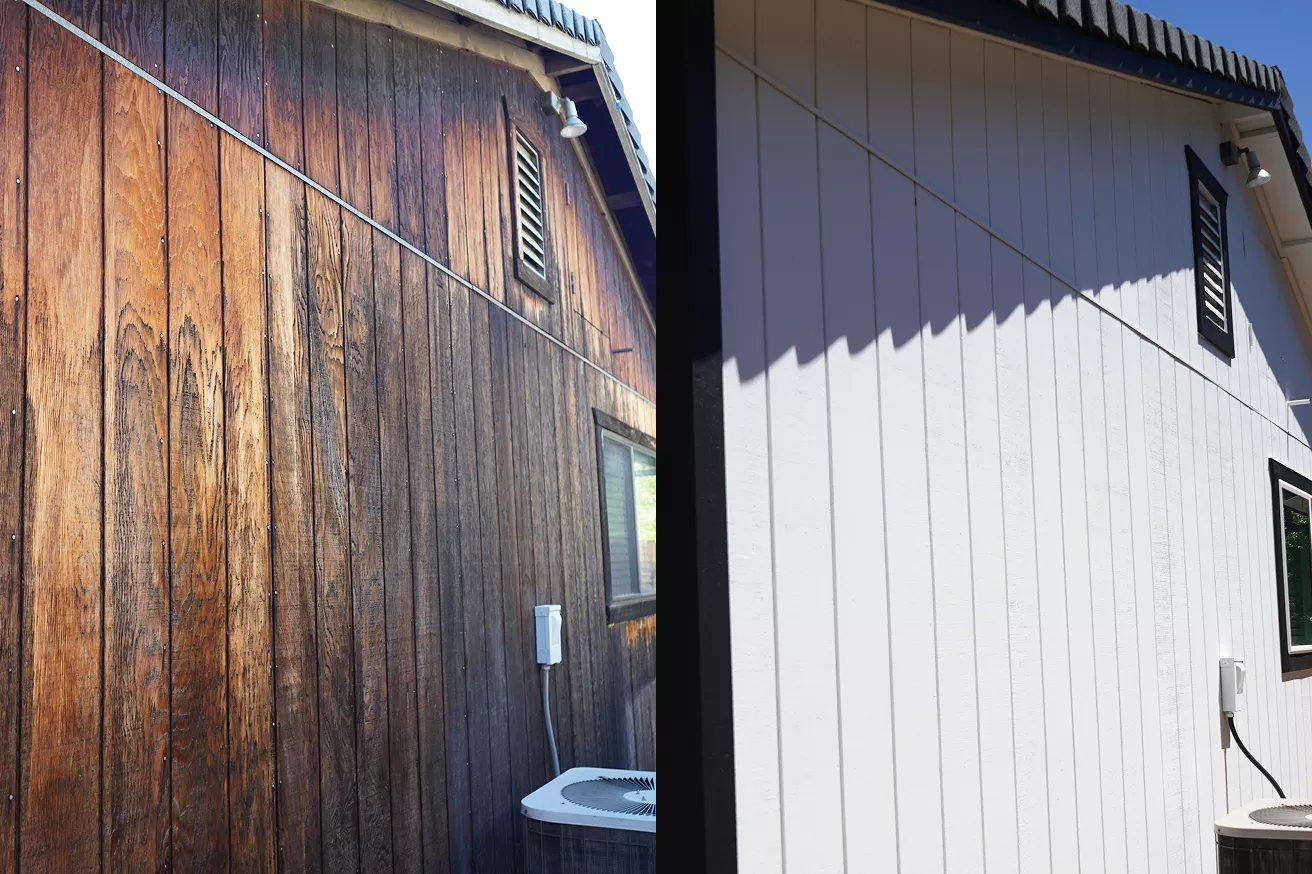
The original wood siding had protected the home for more than 30 years and had reached the end of its life. Several sections had rotted from years of exposure to moisture, while others had warped so much that repairing individual areas no longer made sense.
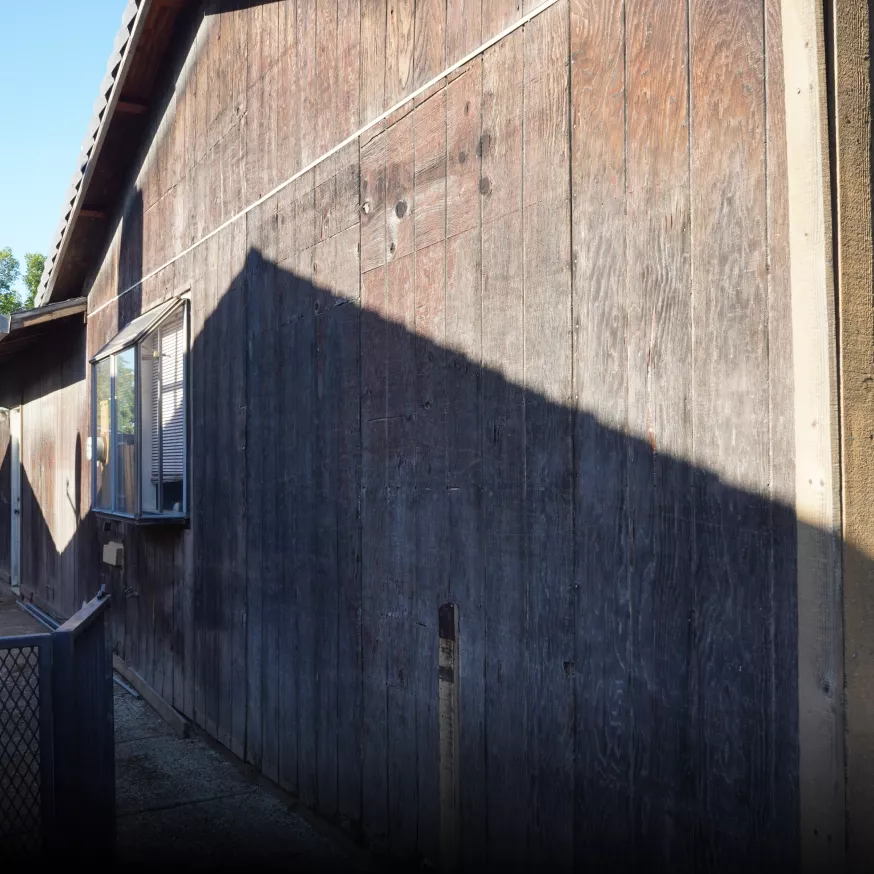 After
After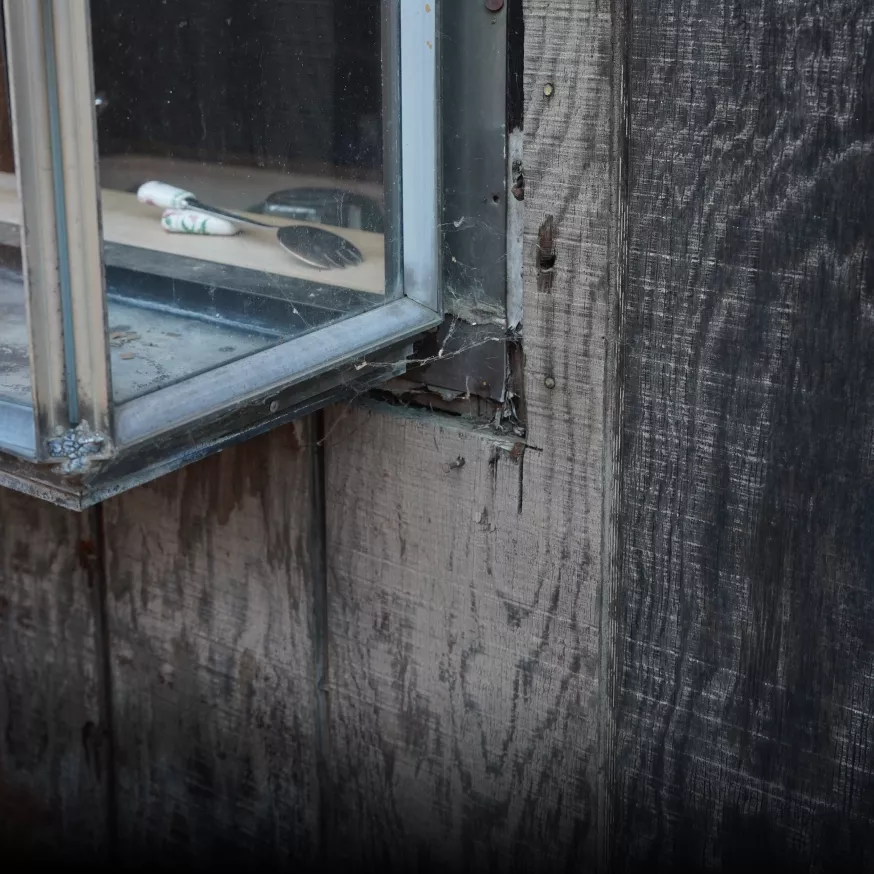 Before
The homeowners decided to replace all the siding rather than continue with small repairs. Since the exterior was already being rebuilt, they also chose to repaint the entire house so everything matched once the project was complete.
After removing the old siding, we inspected the framing and repaired areas affected by moisture. Once the structure was ready, we installed new T1-11 siding, primed the exterior, and finished the project with a full coat of paint.
You never really know what’s behind old siding until it’s off the wall. In this case, a few areas had absorbed moisture over the years, so those sections had to be repaired before we could move ahead. Covering them up with new siding wasn’t an option.
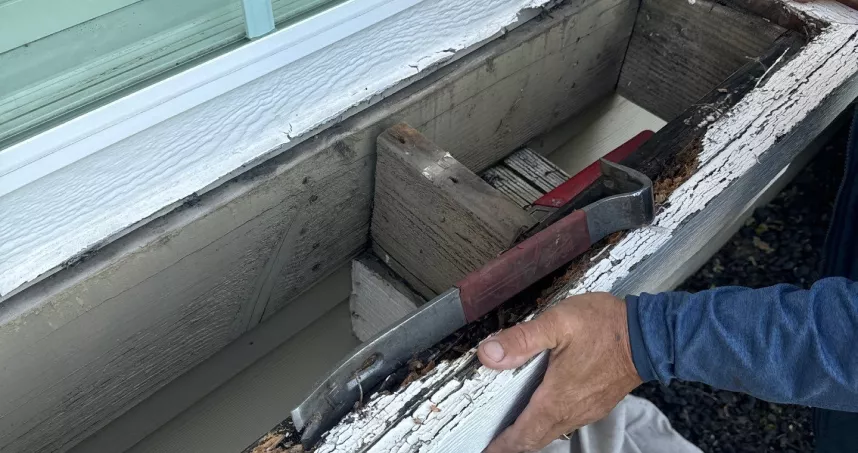
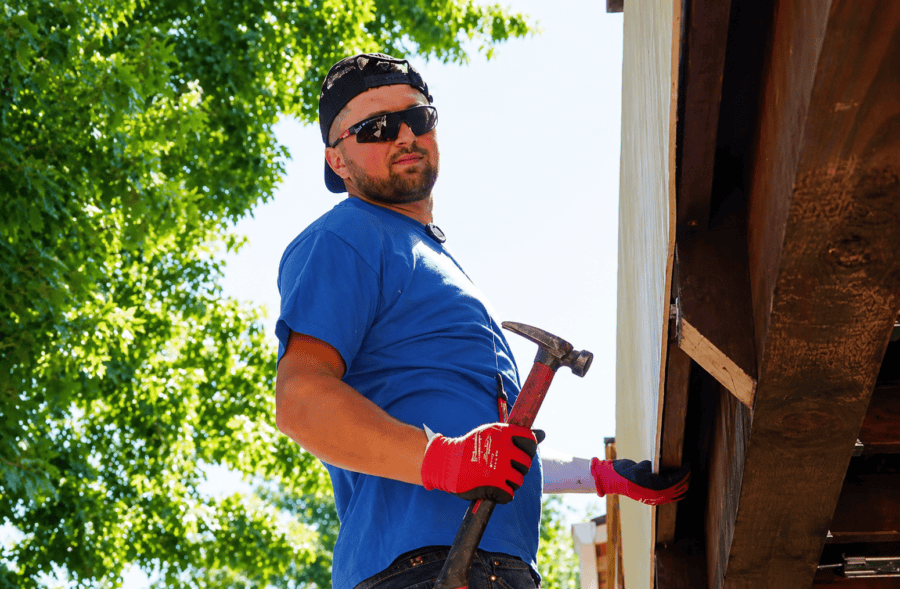
Installing T1-11 also meant taking the time to properly prepare the walls. Large panels need a flat, stable surface to align properly and give the finished exterior a clean appearance.
Before painting, every new panel, repair, and exposed edge was primed and sealed. That extra preparation helps the paint adhere properly and gives the new exterior better protection against the weather.
Replacing a few damaged boards wasn’t going to be enough, so we removed the exterior back to the framing and rebuilt it from there. That gave us the chance to repair the areas affected by moisture before they were covered up again.
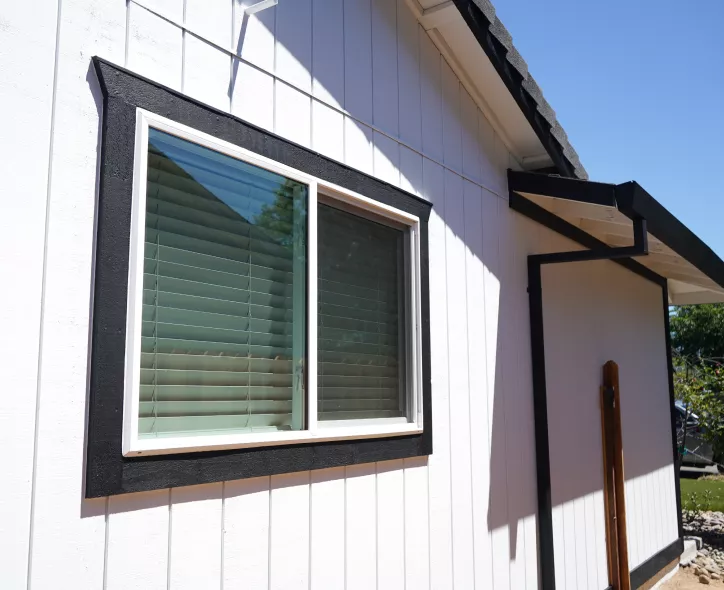
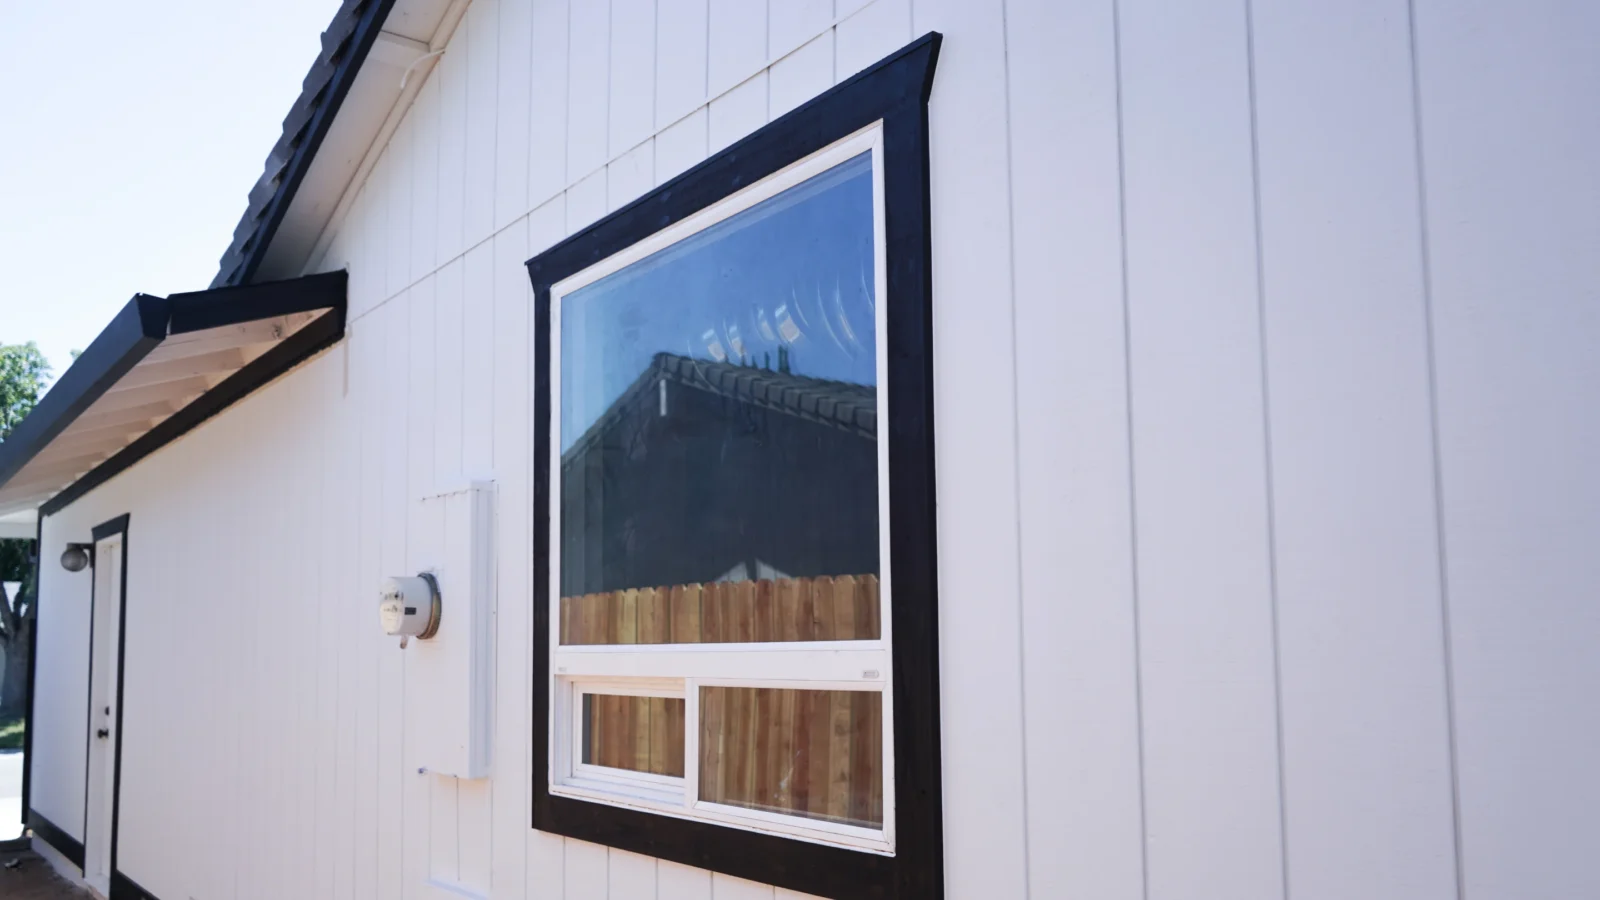
Once the walls were ready, we installed new T1-11 siding across the house and finished the exterior with fresh paint. Completing both parts of the job at the same time gave the home a consistent appearance and eliminated the patchwork look left behind by years of small repairs.
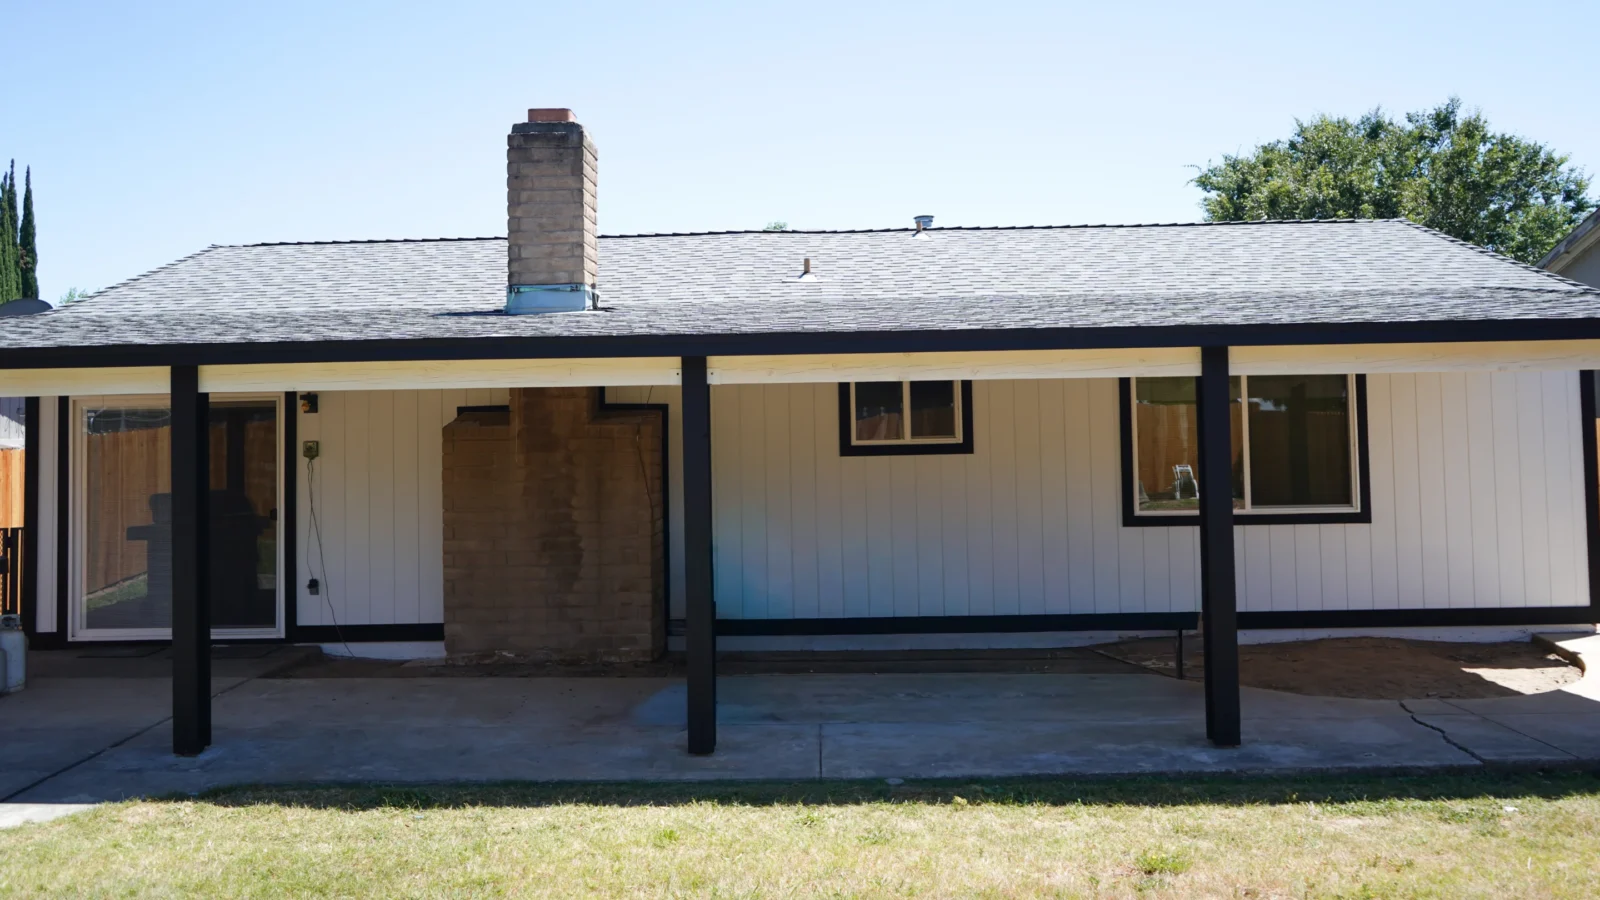
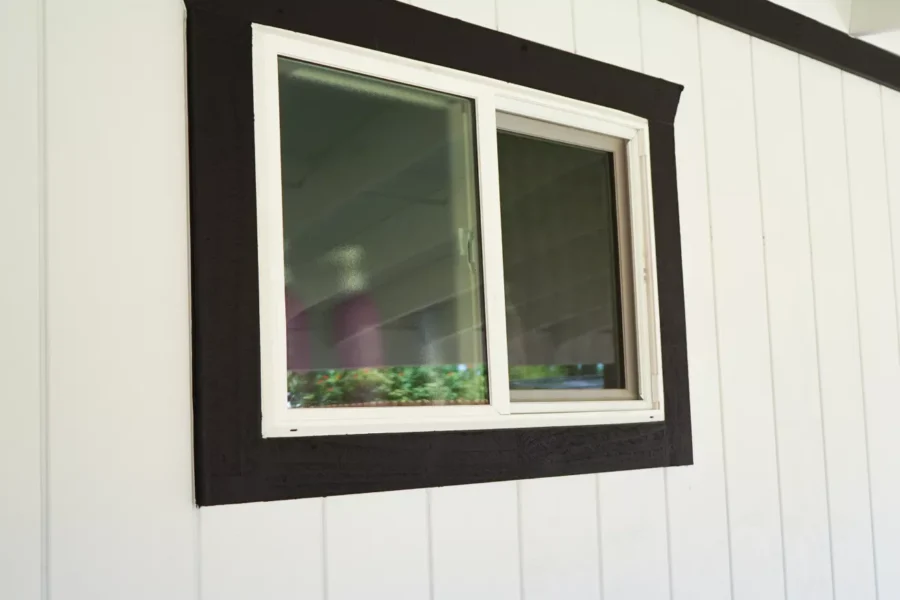
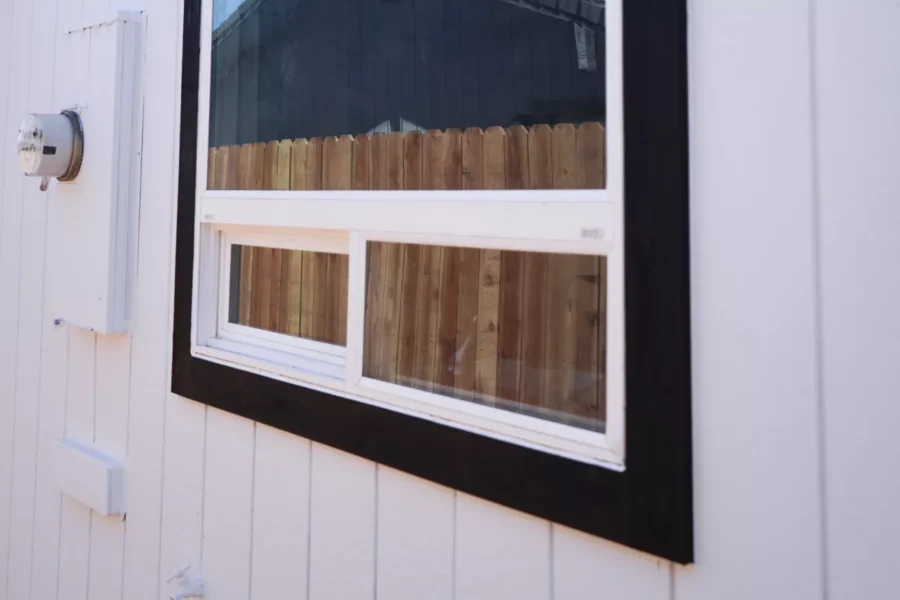
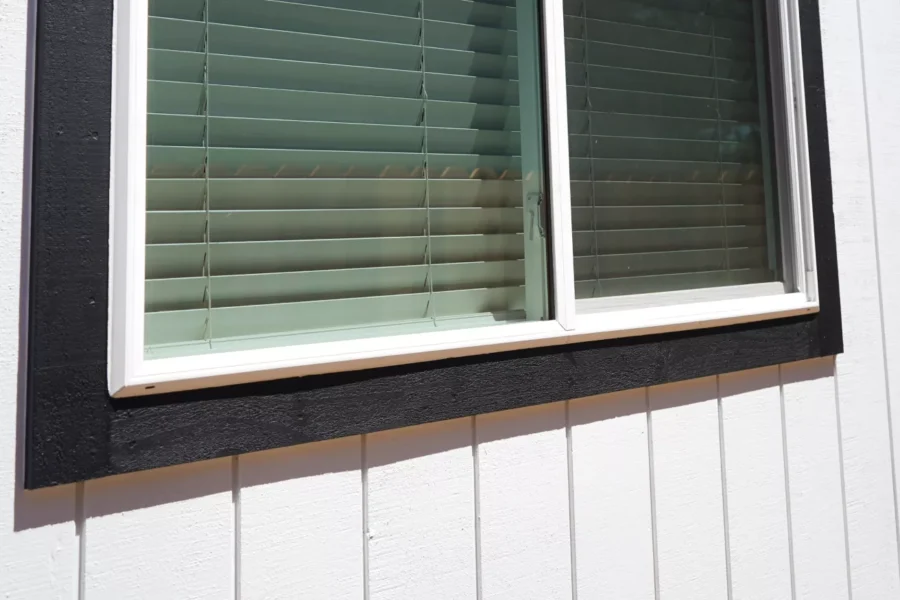
The first day was spent removing the old siding and opening up the exterior walls. Once everything was exposed, we checked the framing and replaced the sections that had deteriorated over time.
After the repairs were finished, the new T1-11 panels were installed across the house. We worked around the exterior one elevation at a time, checking panel alignment and fastening as we went.
With the siding complete, the remaining work focused on paint. The new panels were primed, finish coats were applied, and the exterior was inspected one final time before the project was completed.
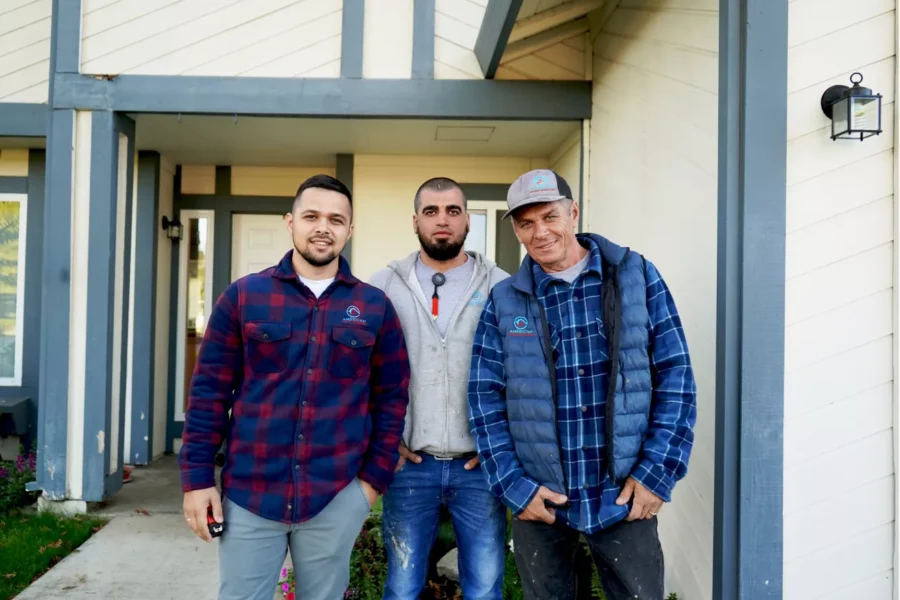
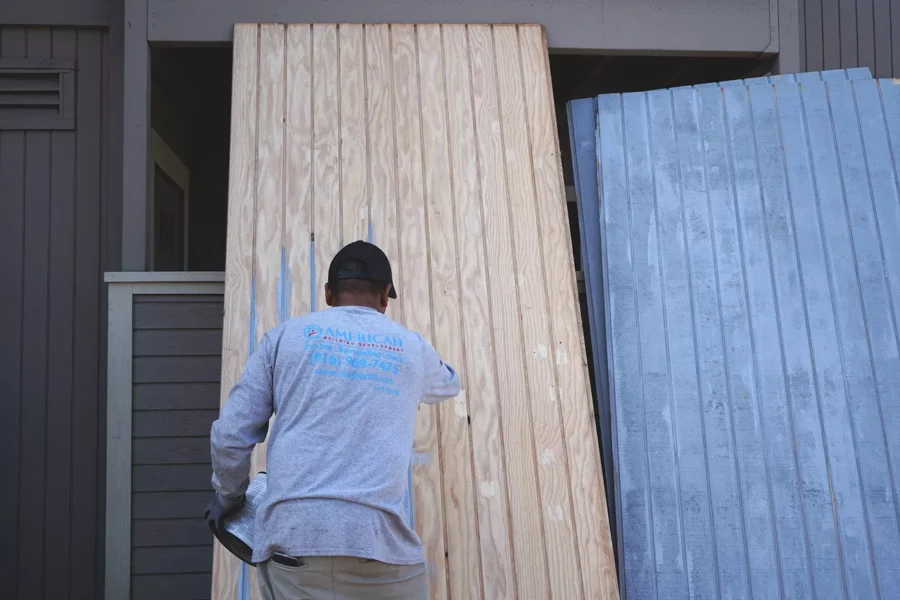
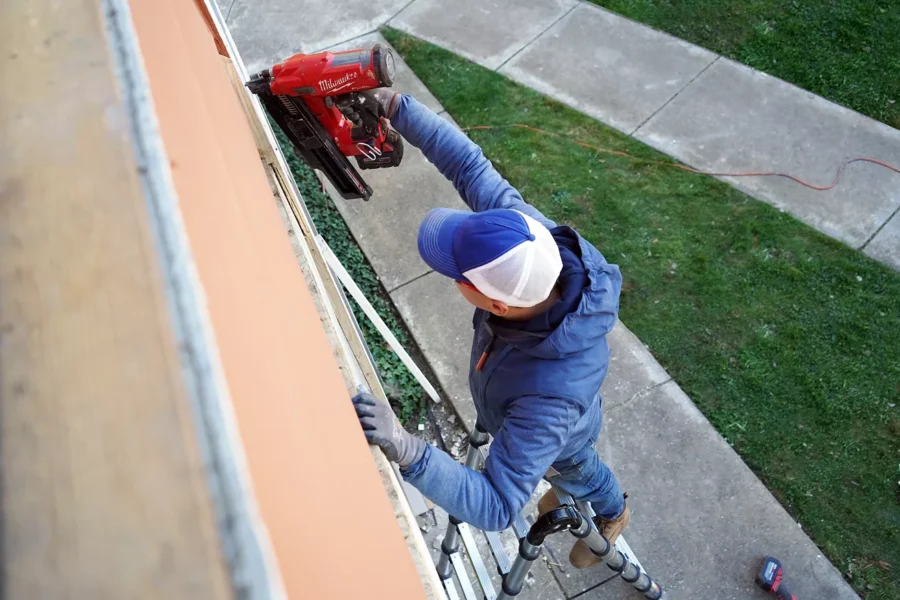
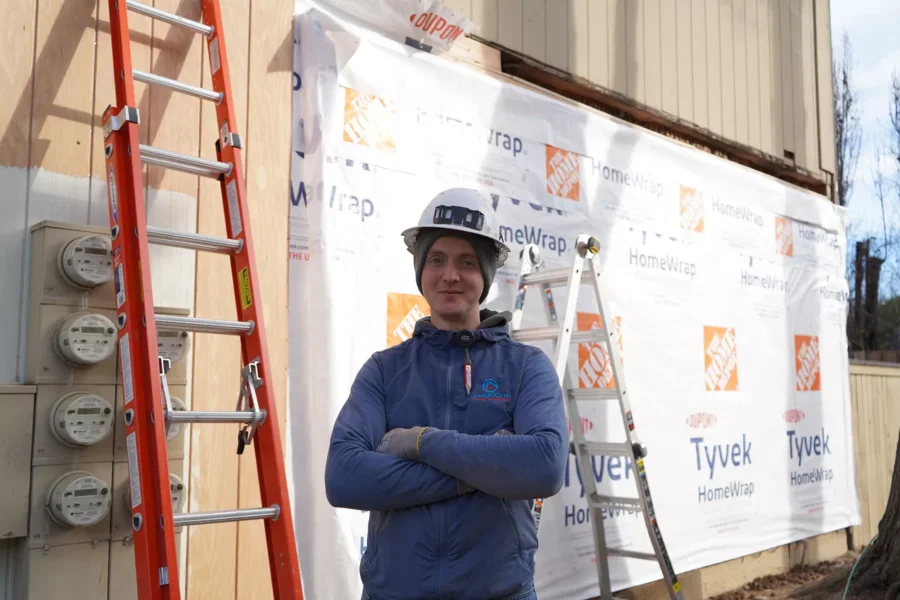
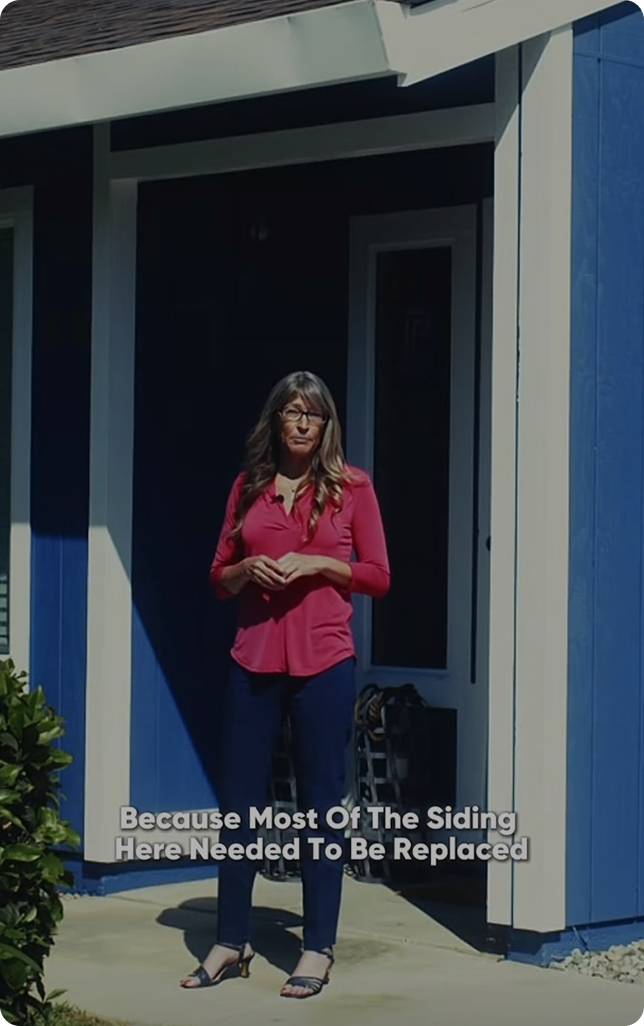
Before work started, the exterior had reached the point where patching no longer made sense. The renovation included new T1-11 siding, repairs to the wall framing where needed, and a complete exterior repaint. Instead of repairing isolated sections, the entire exterior was restored to good condition using matching materials and a fresh finish.
The house now has a uniform exterior that’s easier to maintain and better protected against everyday weather.




Discover how professional siding installation can improve the look of your home.
Contact Us
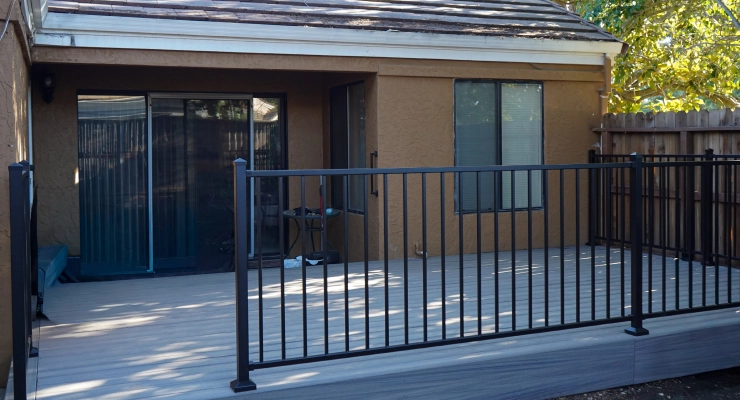
Comprehensive Trex composite deck upgrade with Honey Grove decking, improved outdoor functionality, and a low-maintenance finish engineered for endurance and sustainable wear.
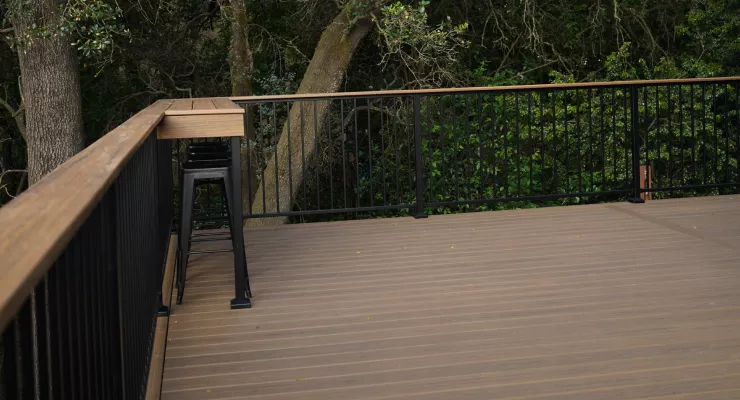
A full deck rebuild that replaced 20-year-old Trex decking and added 10 feet of new outdoor living space.
Choose which optional tools we may use. Switches change your draft; nothing changes until you select Save choices. Getting an estimate, using the calculator and uploading photos work the same whatever you choose. See our Cookie Notice and Privacy Policy.
Your browser is sending a Global Privacy Control (GPC) signal. We treat it as a request to opt out of the sale or sharing of your personal information, so advertising stays off while the signal is on.
You have opted out of the sale or sharing of your personal information, so advertising stays off on this browser.
Required to deliver pages securely, send your estimate request and uploads to our team, protect forms from spam, and remember your privacy choices. These do not track you for advertising.
Helps us understand how visitors use the site so we can improve it: Google Analytics (without Google signals or ad personalization) and Ahrefs Web Analytics. On by default in the United States, where it also tells Google Ads when a visit leads to an estimate request, a call or a Google Maps visit, so we can see which ads work (without contact details or ad personalization); elsewhere off until you allow it.
Measures and improves our advertising and attributes calls and requests to ads: Meta Pixel, CallRail call tracking, and Google tags managed through Google Tag Manager (Google Tag Manager also needs Analytics). Turning this on may count as "sharing" for cross-context behavioral advertising under California law.
Opt out of the sale or sharing of your personal information for cross-context behavioral advertising on this browser. No account or verification is needed. To request access to or deletion of your information, see our Privacy Policy.
Opt-Out Preference Signal Honored: you are opted out of sale/sharing on this browser.Opted out: you are opted out of sale/sharing on this browser.